 Hello! I’ve been sewing a new shirt for Craig… and feel quite bad actually because we
 bought this fabric for him during our visit to Japan last January… nearly a whole year ago! Yes, I feel terrible.
Anyway, now it has been made, finally, all done and dusted, better late than never!
Pattern: I even treated myself to a new mens’ shirt pattern! this is Burda 6874. My old favourite Burda 7767 is very very used now and a lot of the cutting lines have almost fretted away and a few are barely visible anymore. I’ve still got it and will use it for the collar variations, which have always been its best feature. This new pattern is very nice too; it is a basic yoked mens’ shirt pattern, quite slimline, more slimline that my old pattern! with two back variations, curved hemline, regular or hidden button band variations, long cuffed sleeves, a collar stand and collar which can be made as a regular collar or a button-down… and when it comes to that please don’t get me started on the widespread but incorrect use of the term “button-down” as it applies to shirts… my pet hate grrrrrr. Hint; it’s not about the shirt at all, but the COLLAR. If the collar buttons down onto the shirt, it is called a button-down shirt. If the collar does not button down onto the shirt, it is NOT a button-down shirt. Simples.

(deep breath) ok so this is clearly NOT a button-down shirt… as per Craig’s request I also made it with short sleeves and gave it a hidden button band. It’s interesting that the hidden buttons do not have even spacing under that band… the space between the second, exposed button and the next one down is shorter than the others… this made me a little nervous when I was stitching those buttonholes, I checked the pattern, and double-checked! and yep, it IS supposed to be like that!
 Also above; I decided upon welt pockets rather than patch pockets. No, they can hardly be seen in amongst that busy print. I’ve made my peace with that, at last, though that was the motivating factor behind my decision to topstitch throughout with black thread, to make all the details of the shirt stand out a little more.

I made up the pattern almost as is, with just a slight custom-fitting alteration for Craig, namely extending the underarm by 2.5cm, and that same width to each side of the sleeves at the underarm too. This extra width is tapered away to nothing by the bottom of the sleeve. It’s a similar alteration I always did to Craig’s Burda 7767’s too, but slightly different/less exaggerated since the fit of the new pattern is slightly different. Or maybe Craig has slightly changed? always possible I suppose!

All seams are flat-felled, including the armscye seams, and see here for my tutorial on how to flat fell a curved armsye seam (as below). I also did the yoke using that burrito method, so there was no need for hand stitching. Still had to hand stitch the inner collar facing down though… I don’t think the method has been invented yet that can eliminate that!

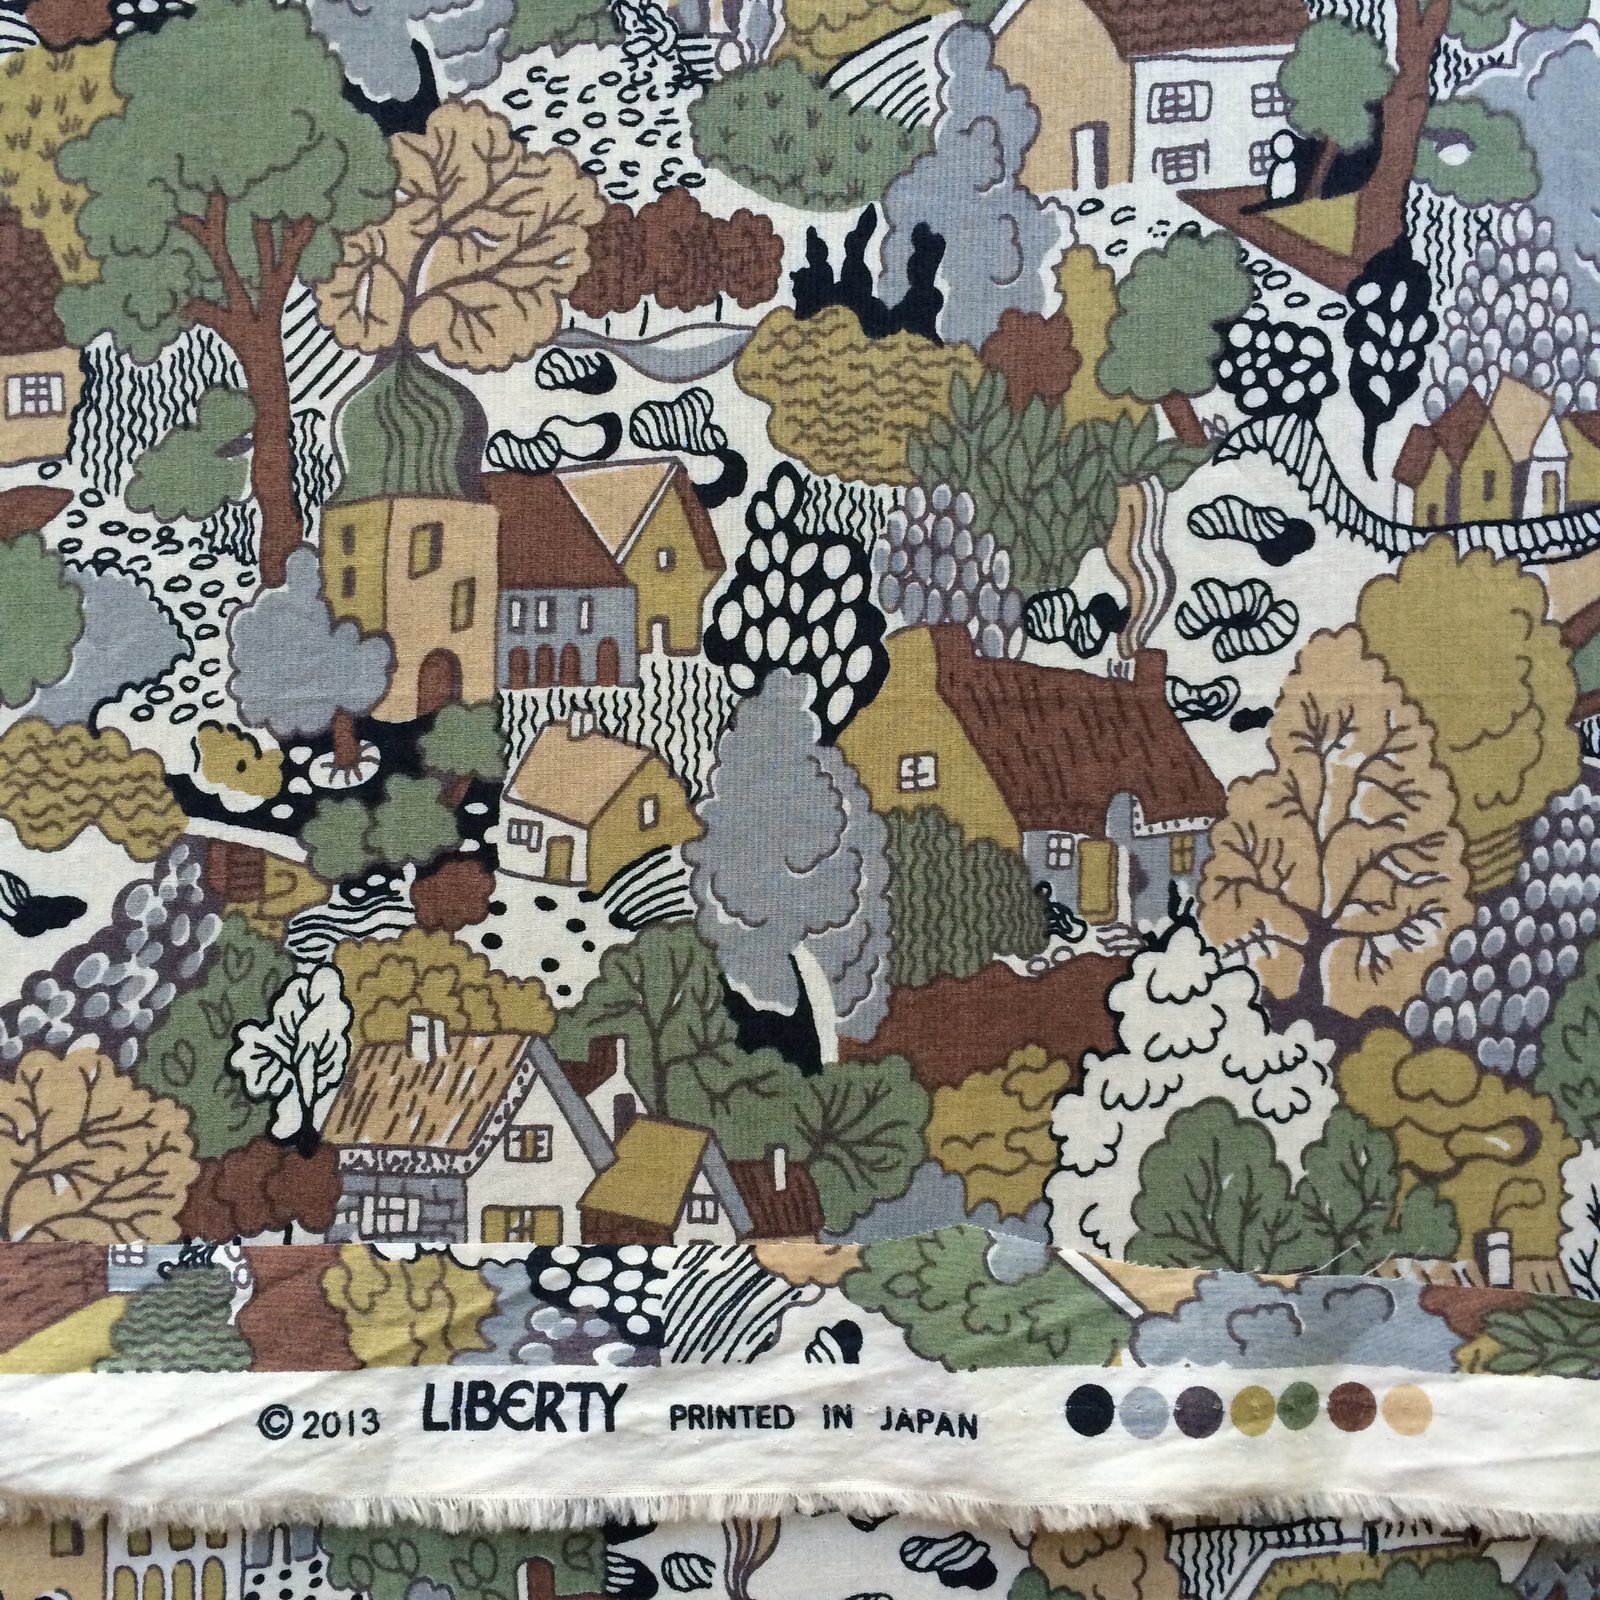
Fabric; Japanese Liberty tana lawn, bought from Check & Stripe in Tokyo, during our holiday last January. Craig chose it himself; the little village and woodland scenes are so lovely. Do I wish I had bought more, and even a little bit for myself YES!! but oh well. I did buy plenty of other fabrics for myself, don’t worry. But oh! Liberty such a true delight to work with… its so pliable, smooth, even; it passes through the machine beautifully, folds and presses so crisply and perfectly. I just wish I could sew with it more often!! The little unobtrusive black buttons are from Spotlight. I know, not very worthy, huh. Bit of a letdown. Well, it’s not like the buttons are going to steal any shows here. That beautiful print does all the talking!


The post Japanese Liberty shirt for Craig appeared first on Handmade by Carolyn.