
Now, I promised to write this tutorial to show my Mum how I applied this finish to her top… and others expressed an interest too; thank you so much to everyone else who did… I finally did it, yay 
Mostly I would use this finish for a neckline that is wide enough to need no zip or button opening, as pictured above. Another example of its use is for a hemline such as the skirt demonstrated here. I’m making this in a totally inflexible fabric with about zero give, PLUS the design has such a sharp curvature around the bottom edge a regular turned-up-twice hem is quite difficult to execute neatly. The bias binding finish is a good solution for this  It results in a clean, banded finish on the inside of the garment, with one row of 1cm (3/8″) topstitching visible on the outside of the garment.
This method is just one of several ways of doing this kind of finish, I prefer this way because I find it the quickest and easiest, results in minimal fabric bulk, and minimal mucking around.
Firstly, make a strip of 2.5cm (1″) wide bias cut fabric long enough to fit the opening to be finished, plus at least 20cm (8″) extra. Best fabrics to use are something woven that is very thin, fine and lightweight, like cotton voile, silk or handkerchief linen; in an unobtrusive colour toning in with the fabric. For Mum’s cotton top above I used the self-fabric because it is quite light; for the blue suedette skirt I used a scrap of leftover silk-like microfibre.
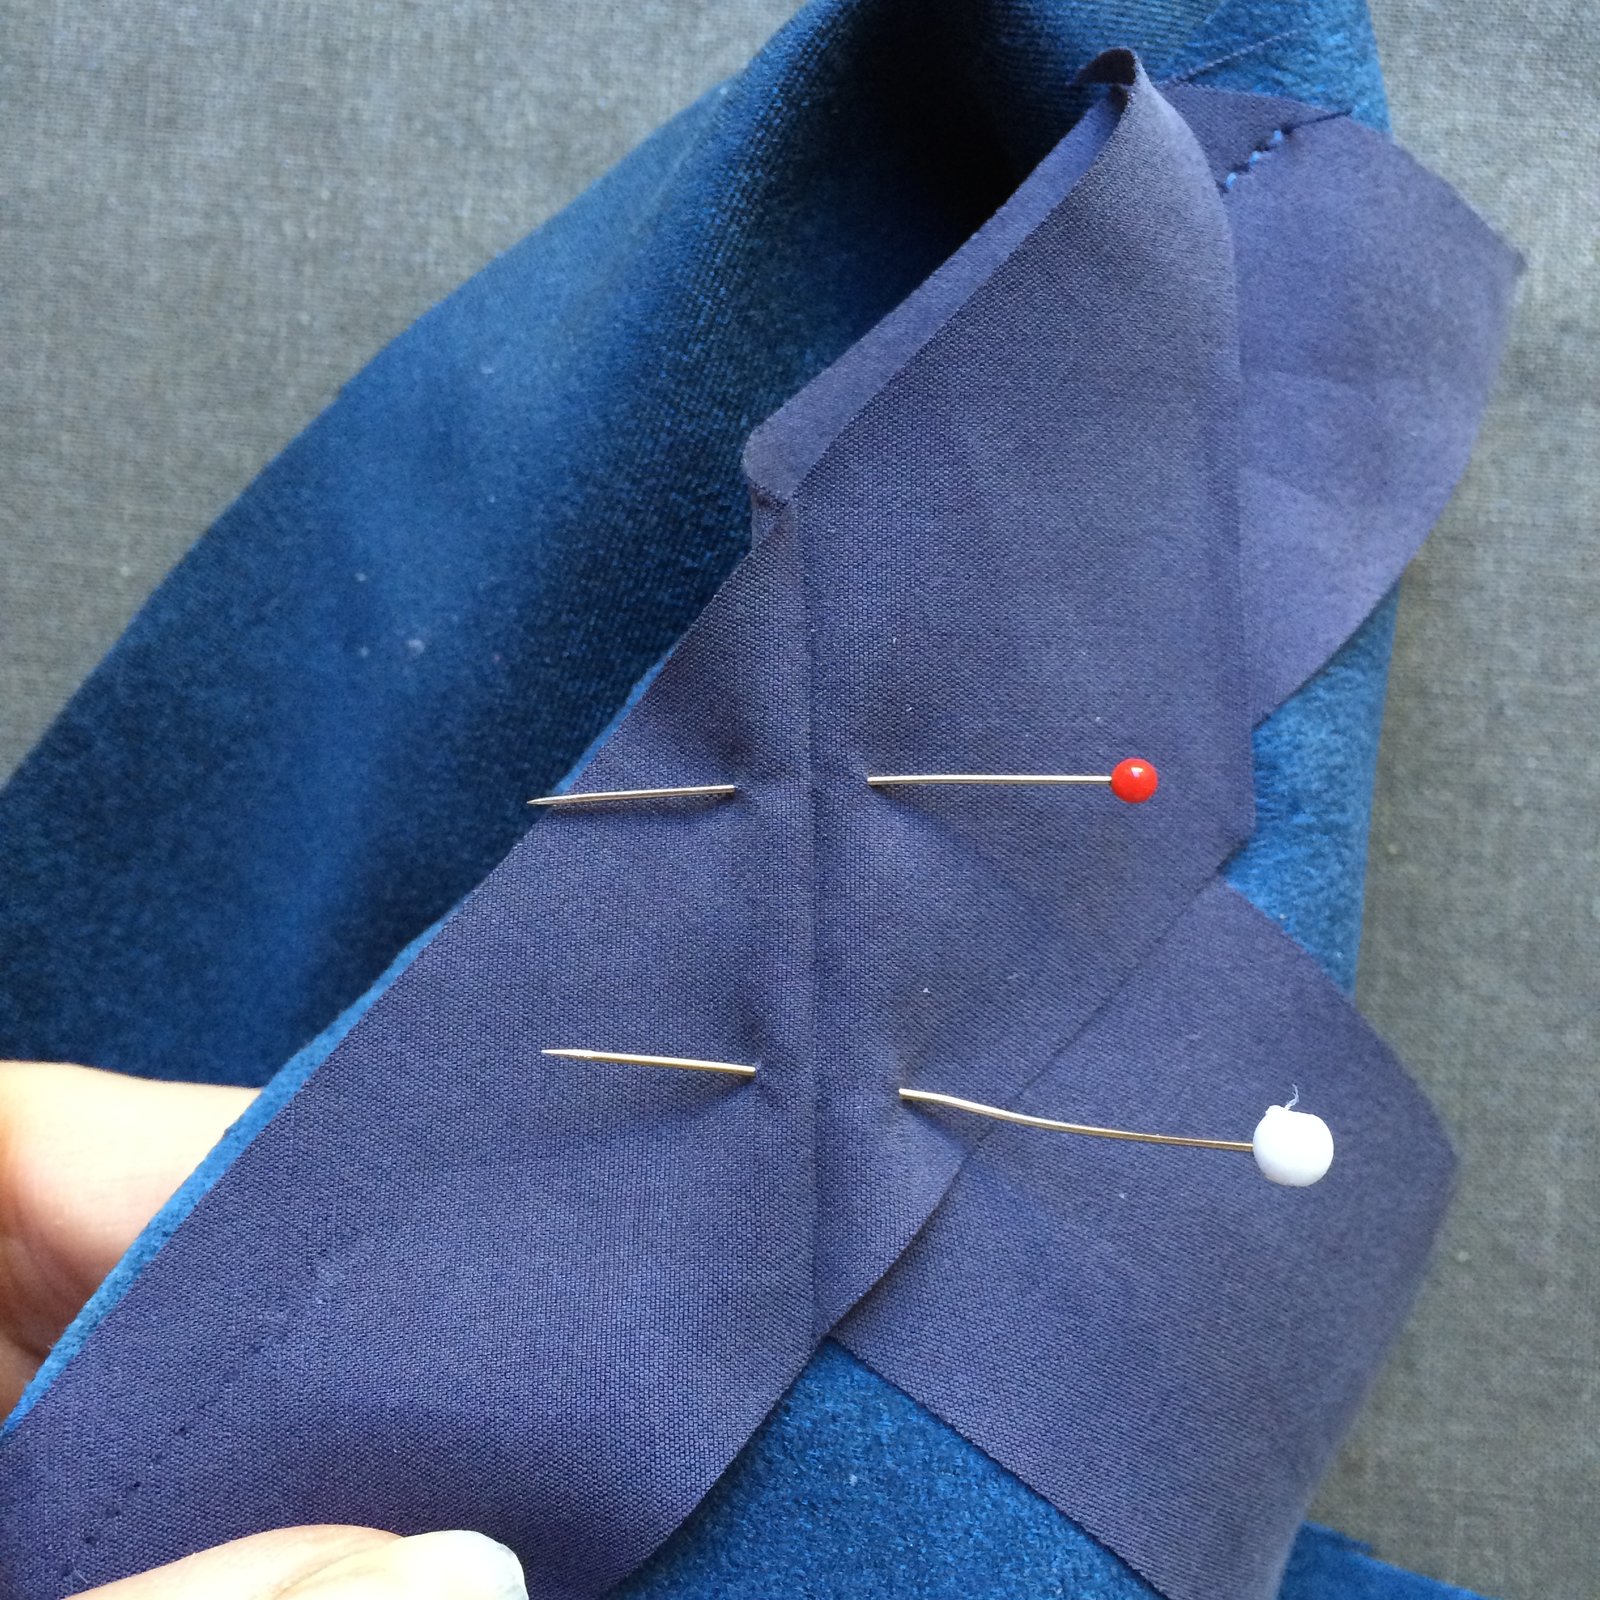
Right sides together, pin around the edge to be finished, and stitch in a 6mm (1/4″) seam, leaving a gap between start and finish of around 15cm (6″) and ideally tails of at least 20cm (8″) 

Fold and press the strips to meet together on the bias. I find it best to leave a very tiny gap, like 1-2mm or so, between the pressed edges. Don’t have any explanation for this, just that it works better when it can stretch into it just a touch. Keeping everything straight and right sides together, pin along the folds, stitch, and trim. Press seam open.


Stitch up the gap to complete the bias strip attachment to the edge. Press the bias strip, bias strip seam allowance, and garment seam allowance away from the garment. Understitch these three layers together close to the seam line, keeping just the garment layer free.


Turn the garment wrong side up and press the bias strip back onto the garment, keeping the seam line just inside the pressed edge.

Turn under a 6mm (1/4″) seam allowance on the bias strip, press and pin in place. Topstitch 1cm (3/8″) in from the garment edge. Done! and the nice thing is that you won’t ever be able to see where the strip starts and ends


The post finishing an edge with bias binding appeared first on Handmade by Carolyn.