
 I made a new skirt using a pretty special piece of fabric… there’s a little story behind it. It’s a handprinted organic cotton/hemp from Ink & Spindle with a really lovely kangaroo paw motif; designed by Lara Cameron and handprinted in Melbourne… mmmm everything in their range is SO yummy, it was reeeeeally hard to choose just one print…! I bought a piece and sent half to my friend Lisa of Lisa’s Carolina… she had once shared a piece of lovely Dusk blue Alabama Chanin cotton jersey with me and we made something in the same fabric… and I thought it would be fun for us to do the same with some Australian stuff. And it doesn’t get much more Australian than this!

Kangaroo paws are the state flower of Western Australian, so an apt pressie for an international sewing friend! And I thought the colours so pretty and earthy; rich tomato-ey/paprika and warm dusky pink on a natural unbleached background… actually I’ve just checked the site and it’s called “desert red on sand” Perfect!! I cannot WAIT to see what Lisa makes with her piece! 
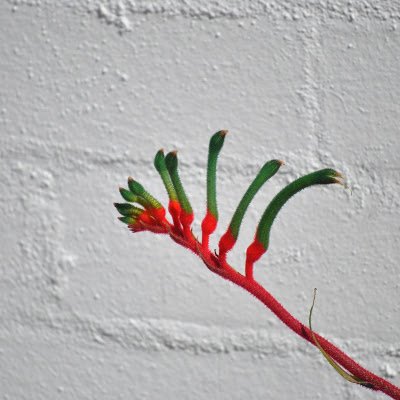
Anigozanthos manglesii… picture taken by me of a particularly nice specimen in our neighbour’s garden. Kangaroo paws come in many different colours now, however this red/green is our state floral emblem
I got to mulling over what to make with my bit… a skirt seemed like a good choice for this full-bodied canvas-sy stuff. I wanted no seams on the front and the back, because I wanted to make the most of the random print, and hunted out an old favourite Vogue 8363, a pattern I’ve used loads of times before. But I didn’t even want a side zip closure either… then I got the idea in my head to make it to have pockets that perform double duty as the closure of the skirt. Meaning… NO ZIPS! I’ve made a couple of skirts like this before and knew this pattern could happily be adapted pretty easily to have this feature… I’ve written a little tute below in this post on how I did it
Because this is going to be a summer-y skirt, I left it unlined and enclosed all the raw edges with HongKong binding, using a pale coffee cotton voile from Spotlight. I also used this for the pocket lining and the waistband lining…
This skirt has taken me the LOOOOOOONGEST time to write a blog post for it… I’ve even worn it a few times… which is a kinda fail for me since I have this thing that I shouldn’t wear something until I’ve written a blog post about it. Naughty! Partly because of my plan for the pocket closure tute, about which I’ve been terribly procrastinate-y. Well I’ve finally done it now, at last. Please do let me know if you find this useful and/or helpful… and if you use it of course!

How to adapt a pattern to have a side-pocket opening… this is a good feature since it negates the need for a zip AND you get the bonus of pockets, naturally!
skirt map

The pattern I used here comes with a slant-edged pocket pieces and either a CB zip or button front closure so it’s pretty easy to adapt the waistband and method of construction to accommodate the pocket closure. However, even if your skirt pattern doesn’t come with pocket pieces you can still draw your own pocket pieces and adapt any skirt pattern to accommodate them… as long as you remember this VERY IMPORTANT NOTE: your skirt pattern MUST be roomy enough in the hips so that you can comfortably shove your hands inside without making the skirt too tight by doing so i.e.. NOT a figure-hugging body-con pencil skirt. Though you can of course start with a figure hugging pencil skirt pattern; keep the waistline and just grade the side seams out at the hips to give you the pocket room you need… allow around 12cm at least of extra ease at the hips from a pencil skirt starting point.
My pictures demonstrate a skirt opening at the LEFT hip… for a right hip opening just flip sides!
The pocket (below, at right) has the same top and side edge as your skirt front piece, and the pocket bag (at left) has the slanting opening edge. This slanting edge should be cut identically on the each of the topside edges of the skirt front itself also… If you’re drafting your own just ensure it has the width to accommodate your hands. Also, the waistband is going to overlap at the top of the pocket… so cut the waistband piece long enough to go around your waist, plus at least the width of the pocket bag top edge.
For the L pocket only: mark with a pin a point A on both pocket and pocket bag pieces as indicated here, roughly 12cm (5″) from the top edge.

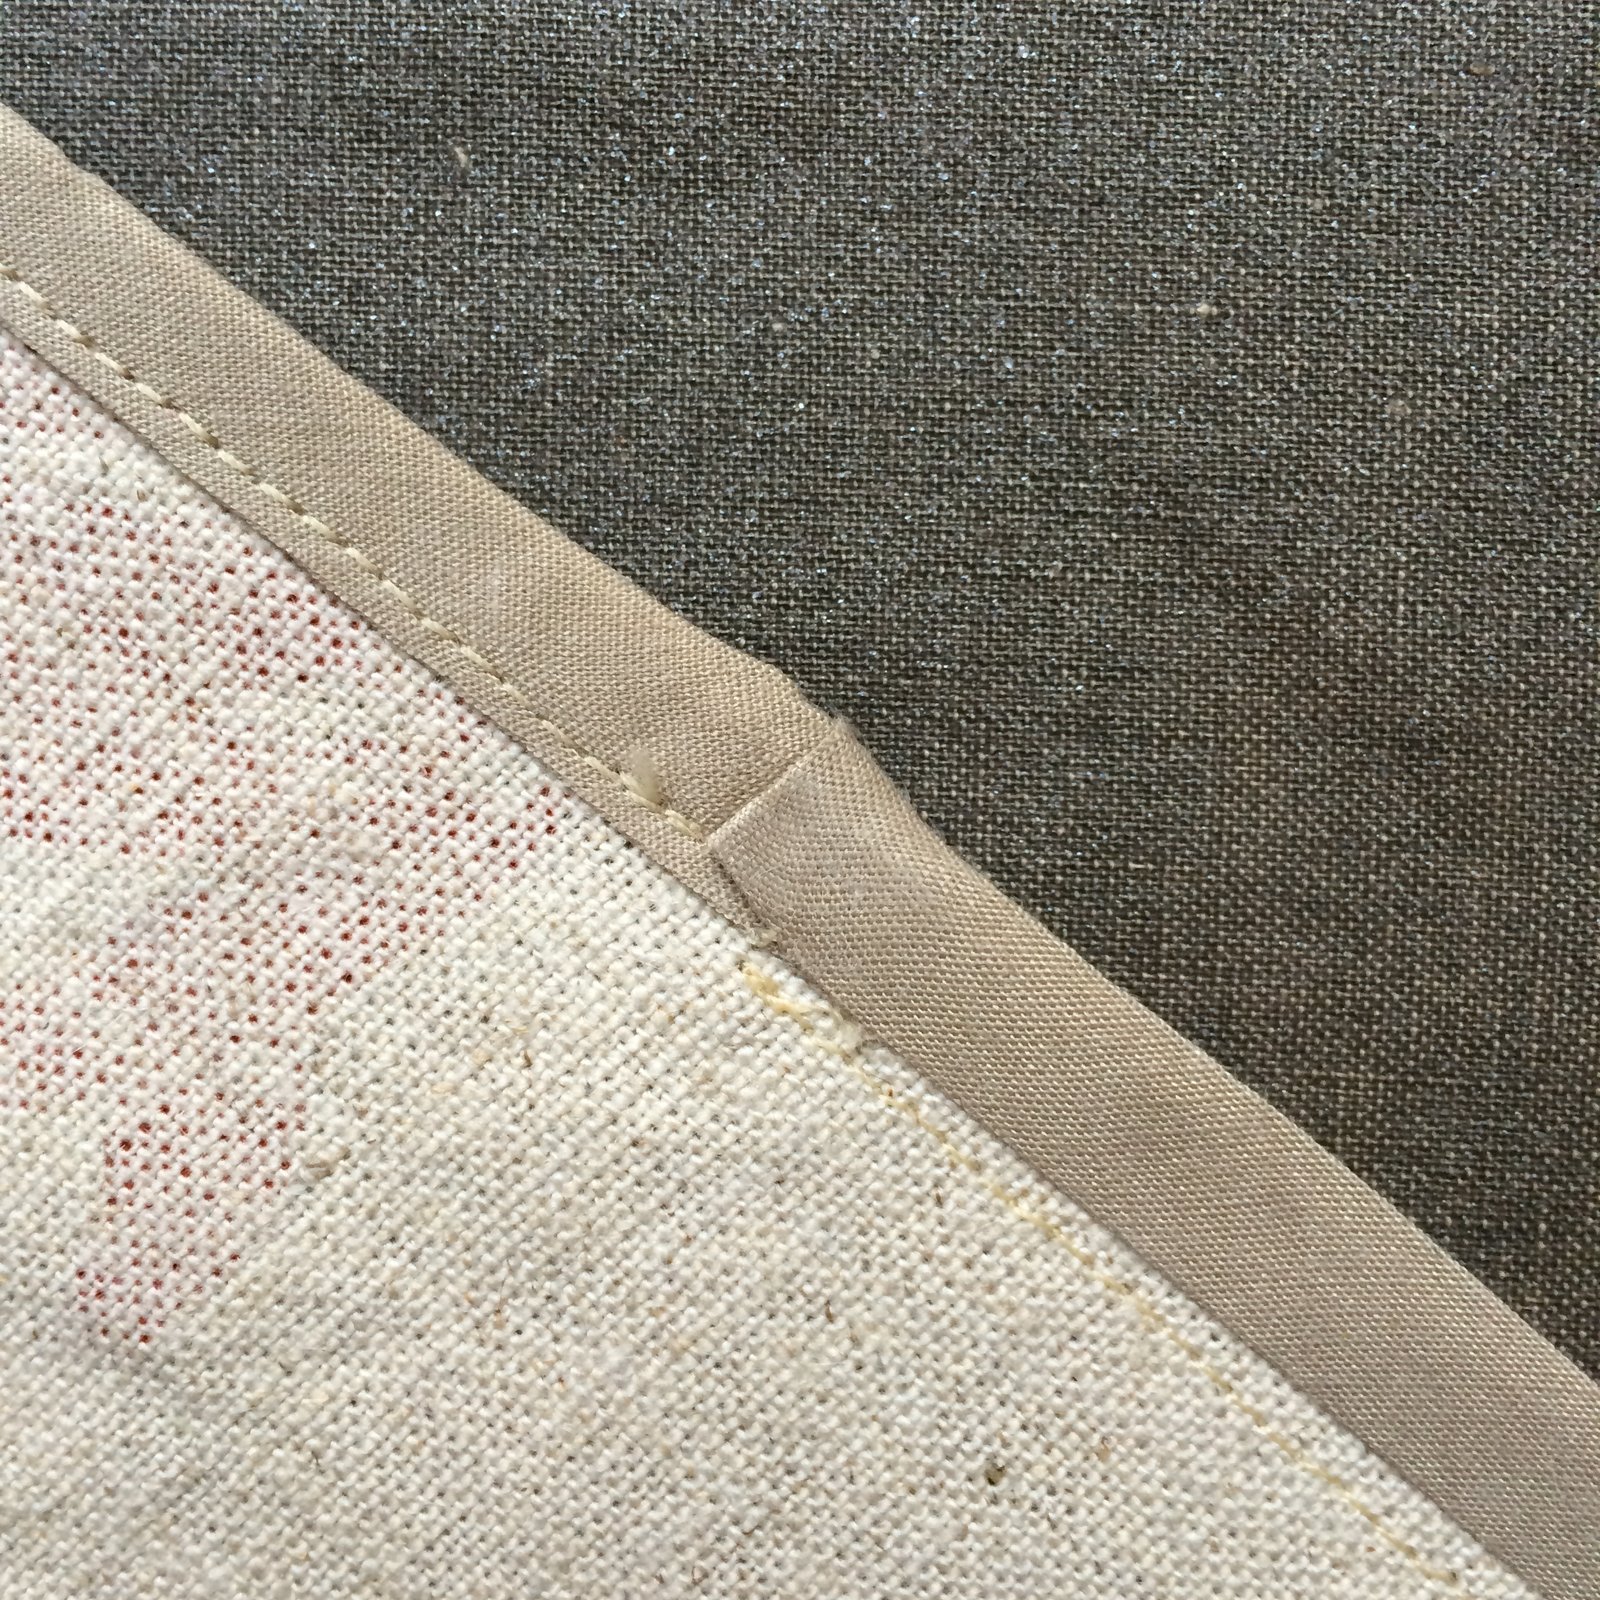
Finish the raw edge above this point. I have finished mine with a bound HongKong finish, however a skinny hem or overlocking is perfectly fine.

Stitch pocket bags to each side of the skirt front along those slanting opening edges.

Press seam allowance open, grade seam allowances, re-press all seam allowances towards pocket bag, under stitch, press pocket bag under. At this point, pocket bag and skirt can be basted together along the top edge.


Pin under-pocket piece to pocket bag piece along unfinished curve edge. Stitch from point A to the side edge. Note: the R pocket is pinned in the same way, and stitched along the entire pocket edge to the top edge.
Finish seam allowances. R pocket edge can be finished along the entire seam, L pocket must be left open above point A


For a HongKong finish, leave a little tail which can be turned under and enclosed within the binding as shown in the following pictures…


Stitch a bar tack at point A to reinforce and strengthen the pocket opening,

Align the skirt front/pocket bag over the under-pocket, keeping the finished edges together. … and baste all three pieces together along the side seam below the slanted pocket opening. This is the skirt front, finished, at this point join skirt fronts and backs together along the side seams. Above the slanted pocket opening, the skirt back is stitched only to the under pocket piece for both R and L sides.

Attach waistband to the top of skirt, commencing from the skirt front/L pocket bag edge, encircling the waist and extending past the L side seam taking in the top of the LH pocket piece also.

Hand slipstitch the waistband facing inside in the normal way, and stitch press studs and/or a wide hook and eye on the waistband overlap…

Ta da!!


Details:
Skirt; modified Vogue 8363, upholstery fabric; worn with:
(at top)
Drape-y top; the loose draped top from “drape drape”, by Hisako Sato, details here
Hat: Vogue 8844, ivory corduroy, details and my review of this pattern here


(below)
Tee; modified Nettie, Closet Case patterns, details here
Cardigan; my own design modifications of Nettie, Closet Case patterns, details here
Raincoat; Kelly anorak, Closet Case patterns, details here
Shoes; made by me and my own design, details here
the skirt is a little longer here… This was its first length and is how I wore it for its maiden voyage… and then I took one look at my pictures and thought, hmmmmm. I don’t know if it’s just on me, but I find knee length skirts are an instant frumpify-er… I like them to be EITHER a few inches above my knee OR to be full midi length, halfway down my calves, every time I’ve gone for a middling length I’ve regretted it. Like, it’s gotta be one extreme or the other… but NEVER in between! I think it’s just right now!


The post kangaroo paws… and making a skirt with a side pocket opening; a tutorial appeared first on Handmade by Carolyn.