 I absolutely love this, my new dress!! for several reasons, upon which I shall now proceed to wax lyrical…
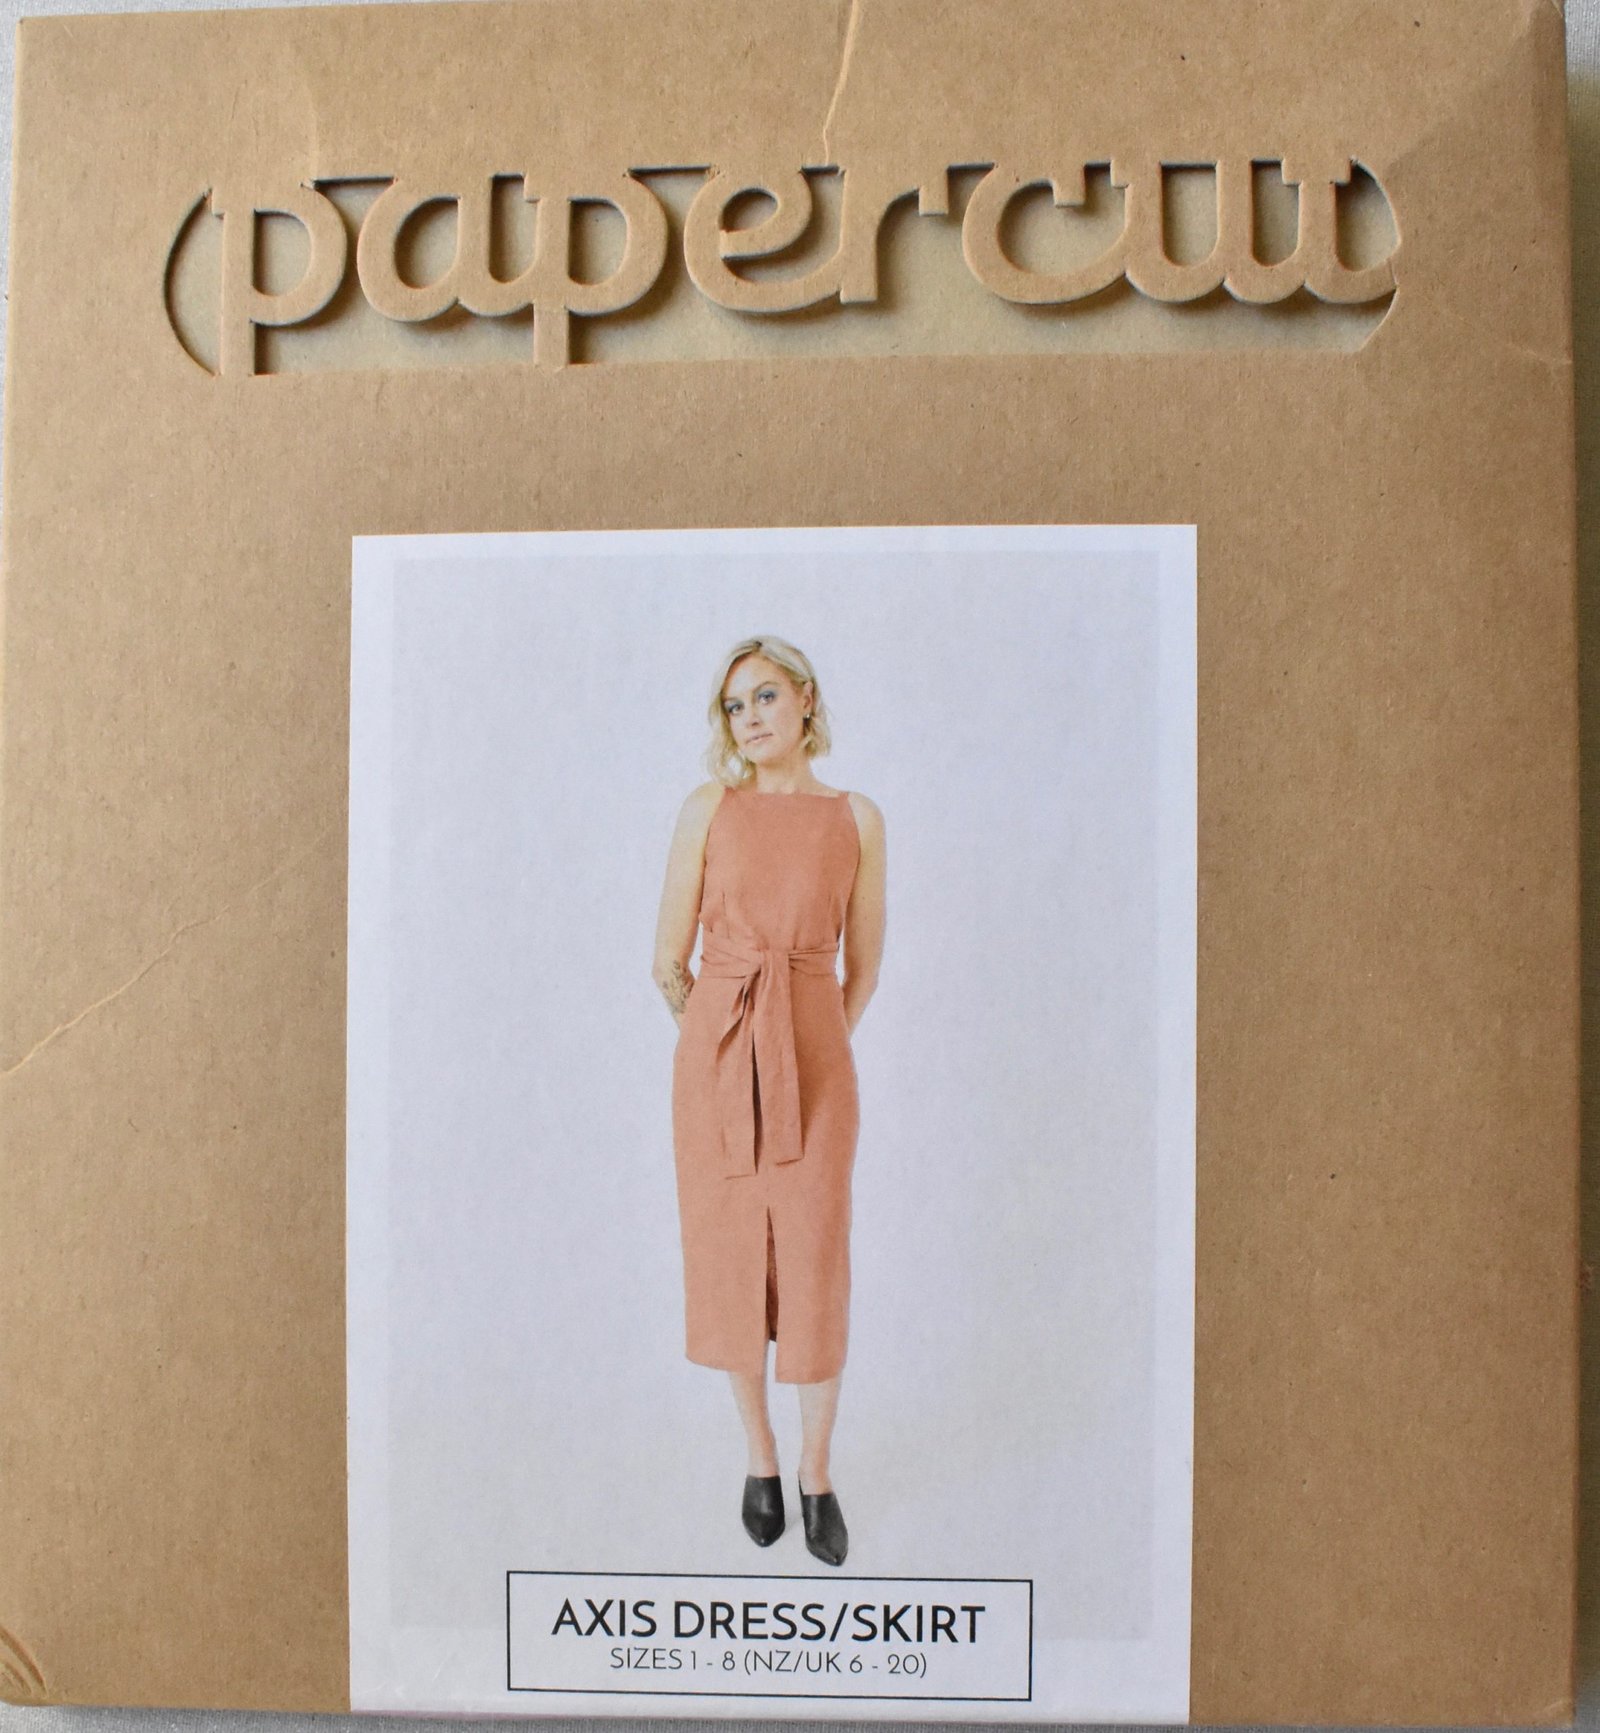
The pattern is the Axis dress by Papercut patterns… I’ve loved this pattern company for several years… for one thing their packaging is absolutely the most beautiful of all. I know that seems like a shallow sort of a reason to buy a pattern but hey, it’s ok to be shallow when you want to be. I think we’ve all deserved that right! The patterns are printed on nice crisp brown paper, and the instructions are printed on the same paper as the pattern pieces. You cut them off and accordion-fold and glue them together to make up your little instruction book. This is a pretty fun crafty little thing to do before you make up your pattern!

Secondly, Papercut patterns are a New Zealand company, and I have a soft spot for the land of the long white cloud. Also I love to support fellow antipodeans.

Additionally, Papercut Patterns have always had this indefinable aura of the cool-girl about them, and who doesn’t want to be a cool girl, hmmm? to be honest I’ve sometimes thought some of the designs are a little … basic, but at the same time that wonderful packaging makes it worth paying for those of the designs that are more individual, if that makes sense. By the way, absolutely nothing wrong with basic patterns! and from what I’ve observed in the sewing world it’s often the most ordinary of patterns that seem to be the biggest and most popular sellers. So there you go.
 In any case, I love the Axis pattern, I happen to think it’s pretty unique, and it appealed to me immediately. I also have their Sapporo pattern, and hope I can get around to it finally this year!
My fabric is a really gorgeous, slubby cotton from Fabulous Fabrics, a Christmas gift from Cassie last year. Actually we’d been shopping there together and I almost bought it for myself before Cassie stopped me, and reminded me that she needed to have a Christmas gift for me! She knows me so well!
This fabric is the same stuff from which I’ve made: this set, this dress, this dress, and this dress too; each of them just in a different colour way. You can see how much I love this fabric! I have bought some of practically every colour way it’s ever come out in, and all of these things have got worn a LOT in their time.

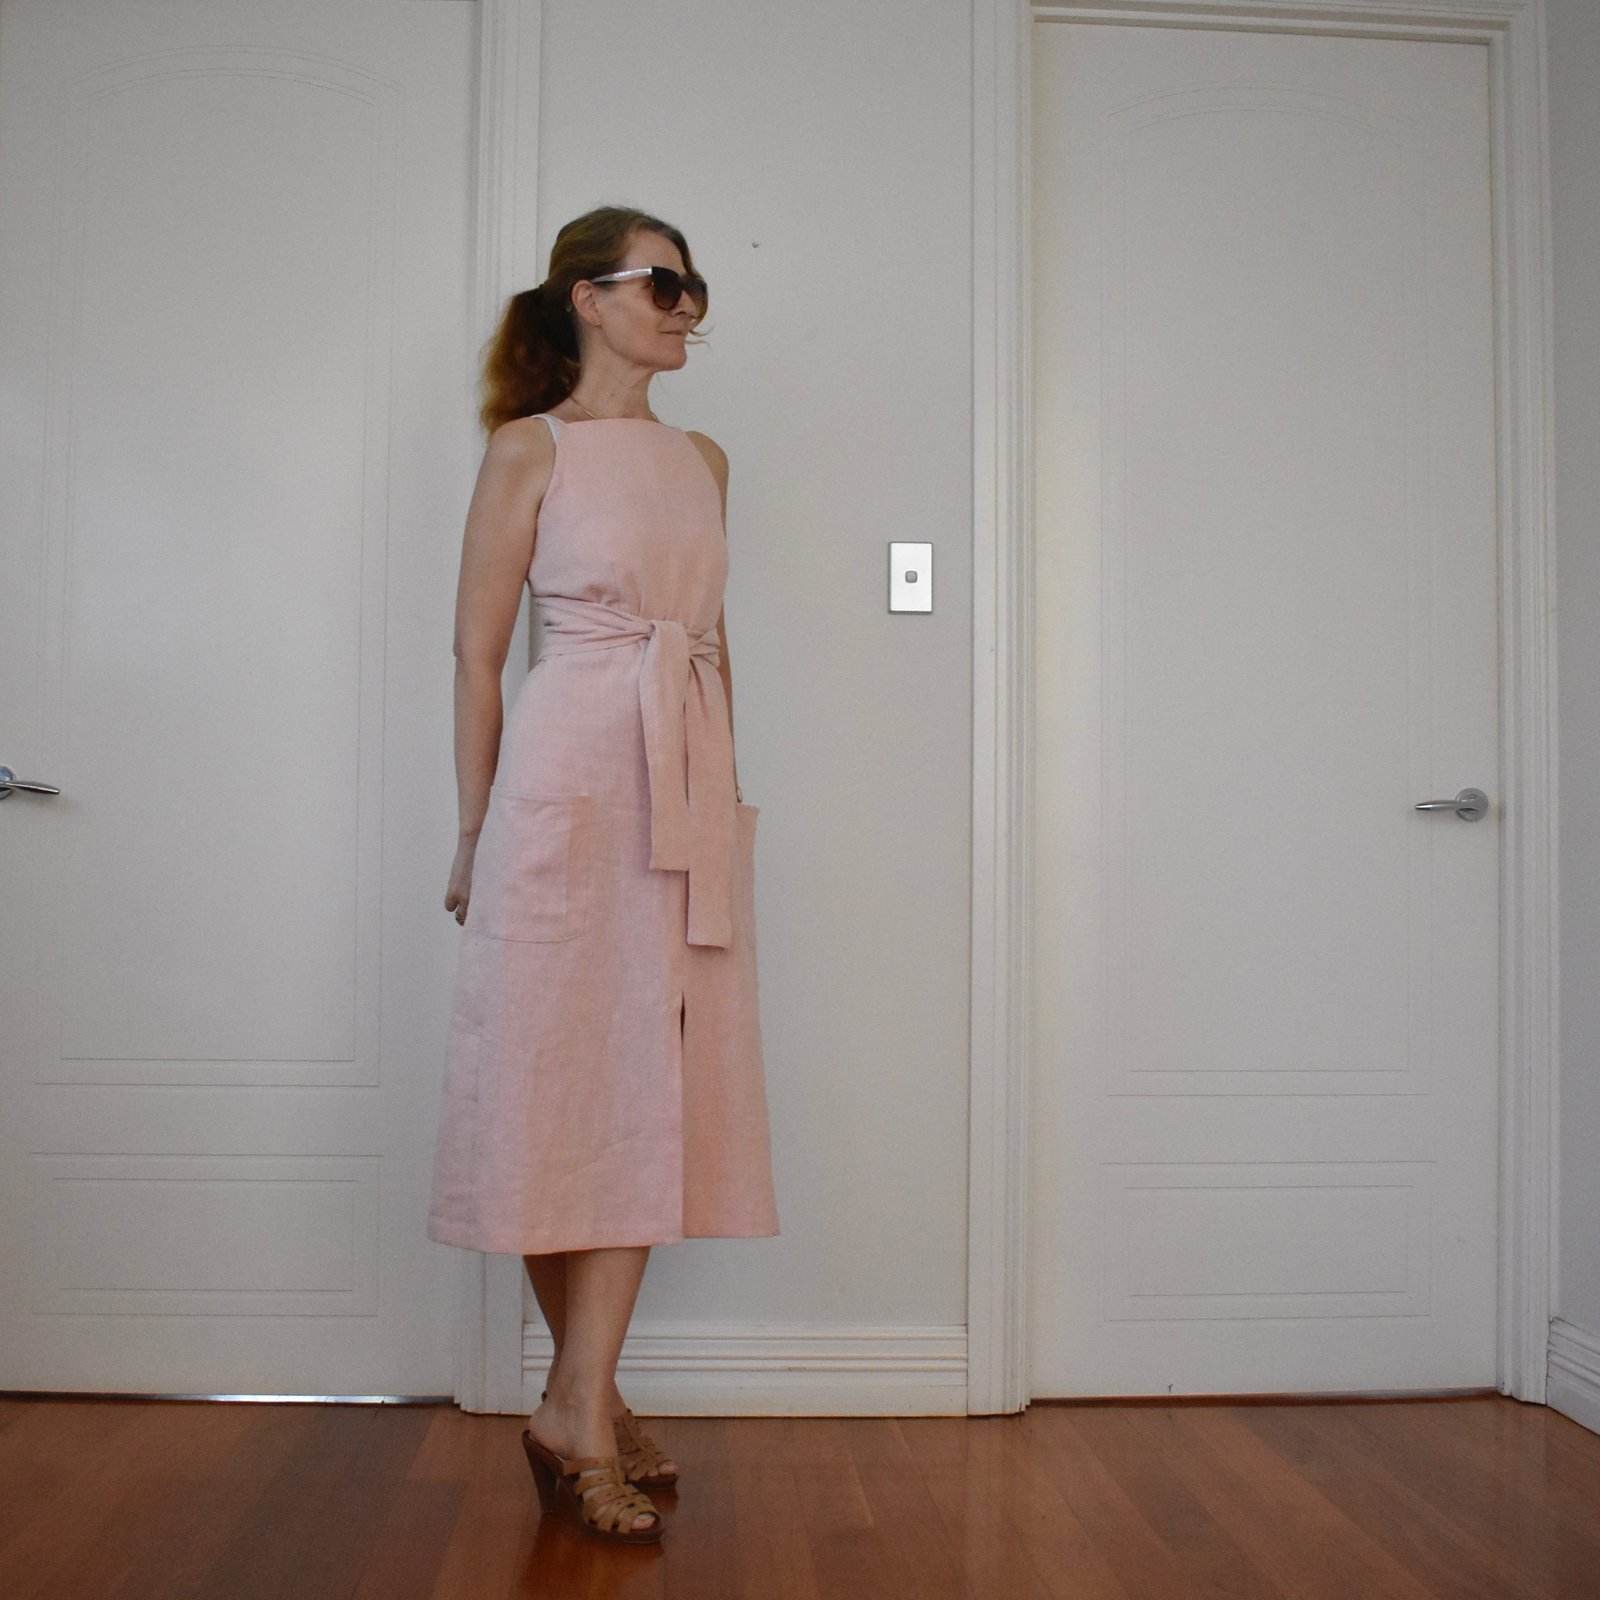
I made my dress to have the A-line skirt version, but I also added in the front walking slit too, which is really supposed to just be put into the straight version of the skirt, so you can walk normally of course. I take very big strides while I walk, so I did the walking slit AND the A-line cut. Rebellious!! I cut my top as a size 3 and the skirt graded out from the size 3 waist to a size 4 at hip level. This is why I make my own clothes!!

The Pocket is something I will often try to bung in to a pocketless new thing somehow, if possible… in this case I decided the best sort of pocket for this sleek, body skimming style could be a patch pocket. Craig thought they might turn out to be a mistake, spoil the line, but I stuck some on anyway, figuring I could take them off if they looked awful. But I really like them! both how they look and obviously they’ll be practical even if you can only fit slimline things like a phone, credit card and maybe a key in there… I kinda pictured them standing out from the body at the top edge rather than laying flat on the body, and fine-tuned the exact amount of “stand-out-iness” and placement in pinning trials. They are simply top-stitched in place; my slubby cotton is quite “sponge-y” and so the stitches sink into it quite beautifully.

I had not quite enough fabric to cut out the dress completely… those back bodice pieces are HUGE and you need to cut out FOUR of them! but I had nearly enough that I managed to make it all work. There is just the tiniest amount of pink voile pieced in at the top of the front facing shoulder strap.

With the front slit, you’re just supposed to turn under the seam allowance in a single layer and top-stitch it down but I finished mine with a little facing. I think this adds a small but nice amount of weight to the hem, and balances it out against the heavily faced bodice area. The facing is stitched on, trimmed, graded, turned under and under stitched, and hand slip-stitched in place at the same time I did the hem.


Look at that perfect zip!!


hmmm, so why has Carolyn just posted two sets of near identical pictures of the zip?? so maybe you can just barely detect that the zip in the second set does look a little bit pink? compared to the first? Yes, there is a little disaster story there… I originally put in that cream coloured zip above, patting myself on the back that I had a mostly suitable zip in my stash already and didn’t need to pop out and buy a new one. I even took all my pictures here with that zip in. Then I was re-pressing this brand new dress and putting it away, and what should happen but to my horror the zip just casually split open underneath the pull. Aaaagh!! I simply could NOT believe it! My brand new, perfect dress!! I tried and tried to tease the teeth back together, resurrect the zip, but it was truly stuffed and there was nothing for it; I just had to unpick the wrecked zip, and head into Spotlight to buy a new one… since I sadly did not have a second suitable zip in my stash. I made my trip worthwhile though, by picking up a little range of new threads and some more zips that I knew I’d need in the future. I tried to nobly restrain myself from buying more fabric too, but failed in such endeavours. Well, I needed to cheer myself up! You just do sometimes, you know?! Especially when one suddenly needs to replace a BRAND NEW ZIP in a BRAND NEW DRESS 
I think the problem was too much bulk in the back waistband/skirt junction, since I had stupidly tread quite light while trimming the seam allowances in there… The waistband is a single piece foldover one, interfaced fully, so you end up with triple thickness of interfaced waistband, interfaced seam allowance and interfaced self-facing, add in a skirt seam allowance too, and that’s a fair amount of bulk at that junction. The zip “looked” perfectly fine, but the bulk of fabric hard up against the zip pull did make it difficult to pull up and down past that point and I’m not quite sure how it happened but it all proved too much for the mechanism. When I inserted the second new zip I aggressively trimmed away a lot of that bulk inside before stitching in the invisible zip, and this helped a lot, I think.
Anyway; zip drama notwithstanding; I still really really love this new dress! we’re still getting warm enough days every now and again that I can wear it now! and even in slightly cooler weather it’ll be still be nice with a little white tee worn underneath too.

This is my fourth thing from my #makenine but actually twelve, that I challenged myself to make for this year.

Details:
Dress; Papercut Patterns Axis dress with pockets; textured pink cotton
Sandals; ariel, from an op shop years and years ago


The post pink Axis appeared first on Handmade by Carolyn.