Hello! I am getting started on my next Alabama Chanin project.
Yes, an authentically executed Alabama Chanin creation
is a big time commitment but I really enjoyed making my 3-piece set and it is nice to have a hand-held project to work on slowly, something easily transportable that doesn't require much space or special equipment or a lot of thought but that you can just pick it up and get on with, a little bit at a time.
I'm using some hot pink jersey knit from my stash, bought in the Fabric Store in Melbourne during one of my trips over there with Mum and Cassie, I've forgotten which one now. Probably the
previous one, hmmm... Actually, I had pulled this fabric out in the early planning stages of my recent SWAP and marked it as a definite; that was before eyeballing the rest of the long term stash residents that I was keen to sew up and realised that colour-wise, it didn't fit in at all.
And it still didn't. Really, hot pink? I don't know what I was thinking. My current way of thinking wrt my wardrobe is to have it mostly subtly and/or autumnally shaded, and while in theory I like hot pink, in reality I was just like; ah,
No.
So, step one;
wash, soak and dye the fabric. I used a small shake each of iDye in Brown, Yellow and Chestnut in the dye-pot. Sounds hideous? well I did do a small sample first and thought it a huge improvement. So that was a go. My fabric was a slightly variegated hot pink and became a slightly variegated rusty-purply raspberry.
Cutting and Printing: This is where things got tricky... I received an email recently from Carolyn in Florida, asking about the curl factor of jersey and how did it affect the Alabama Chanin technique. Well, in the case of this particular fabric as can be seen in the photo above, the curl factor was
extreme and the edges of my fabric curled up
so badly. And they just would not lie flat by themselves. From a screen printing point of view this is disastrous. I wanted to have my screen print go right up to the very edges of the fabric, and so the edges just had to lie as flat as possible. So for a quick and easy fix-it I just used regular household sticky tape to tape just the very edge of the fabric down to my backing newspaper, just inside the seam allowance and immediately prior to printing. Not a pretty or elegant solution, but it worked pretty well!
Printing the fabric seems to have tamed the curl quite a lot too! The seam allowance for Alabama Chanin designs is small, like 5mm or so, so you do need to print right up close to the edge. I've found from my first project that I prefer to have my embroidery right up to but preferably
not within the seam allowances, though.
I will say; if your fabric does curl very badly I can see the case for printing then cutting out. I do have my reasons for preferring to print after cutting out; reduces waste of expensive printing ink since you're only printing what you are using: heckuvva lot easier when manipulating the smaller pieces to get a very good placement of print. That last point is my primary reason for doing it this way, and I'm still glad I did cut out first. I guess this is something that the individual will have to decide for themselves when embarking on a project like this :)
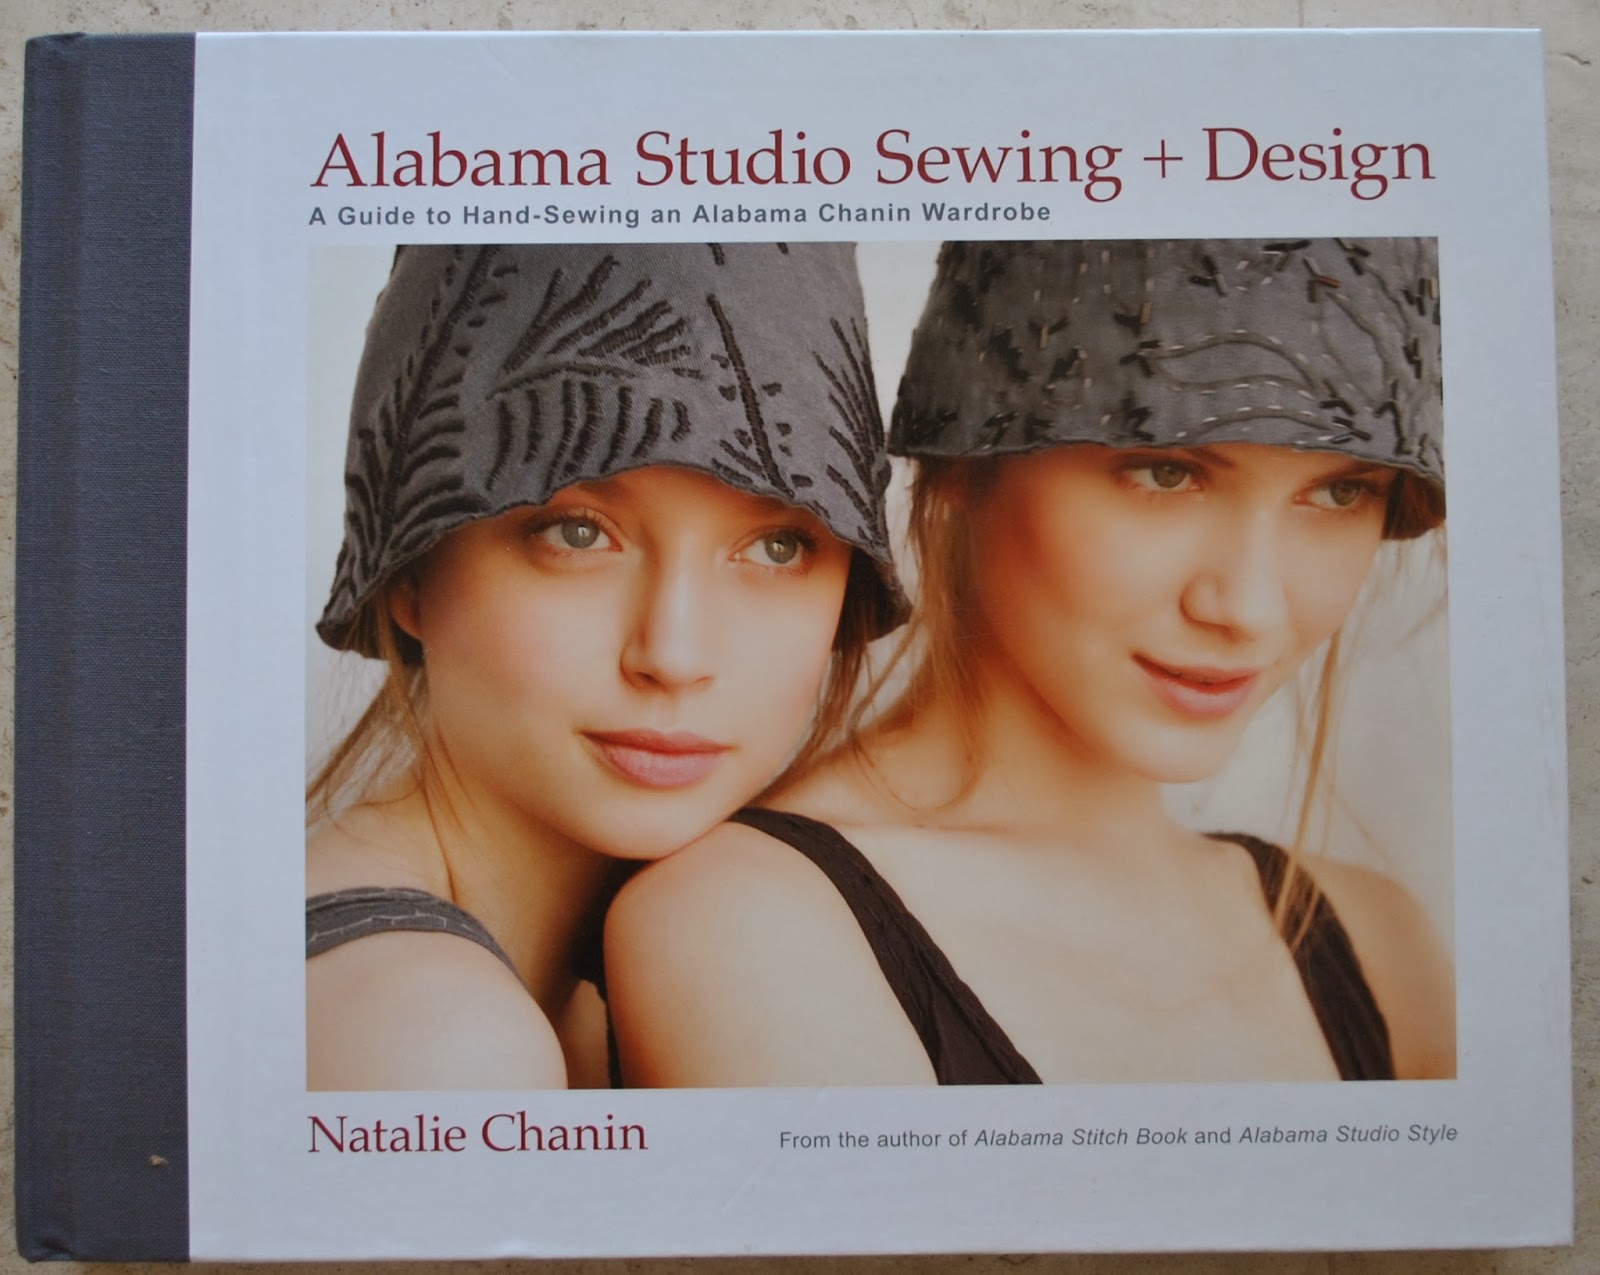
The Stencil: This time I chose the Abbie's Flower stencil from the book Alabama Chanin Studio + Design, by Natalie Chanin. I enlarged it by approximately three times using the good ol'-fashioned method of drawing a grid on the design, then drawing a bigger grid on your paper in which you painstakingly copy each little square on the bigger scale. Like we used to use in primary school; from back in the dark ages, before photocopiers. Ha!
I thought the overall motif was still a bit small and my least favourite part of printing is placement of the screen for repeat printings. I mean; if your motif is larger in area then you decrease the number of times you have to re-place the screen on your piece of fabric; and the less placement the better, imo. So I ad-libbed putting more motifs from the Abby's Flower stencil around about and added in a few random leaves and curlicues of my own too, until my stencil covered the maximum area I could get on my screen.
The embroidery technique I have chosen for this project requires keeping the printed motifs intact in the final garment, so I needed to print the motifs in proper fabric paint instead of the discardable house-paint that I used for my first project. I used Permaset water based Textile Printing Ink from Jacksons, and mixed a deep oxblood red/brown colour using orange, crimson and a bit of green.
My green had a few chunky bits in it that didn't mix in properly, and I really like the few areas of streaky green that showed up in the screen print. It's almost a pity that they will be mostly covered up by my embroidery!
My print placement was not perfect: note; it never is! and after I'd finished I noticed a few largish gaps that stood out visually in a not-good way. So the next day I mixed up a teeny bit more paint, cut a new, very small paper stencil of two leaves and carefully printed in a few of these in the gap areas. The design looks quite irregular so I think it worked out very well. They stand out like a sore thumb right now because they are a deeper colour but I'm thinking they'll probably blend in OK once I get embroidering :)

 Hello! :)
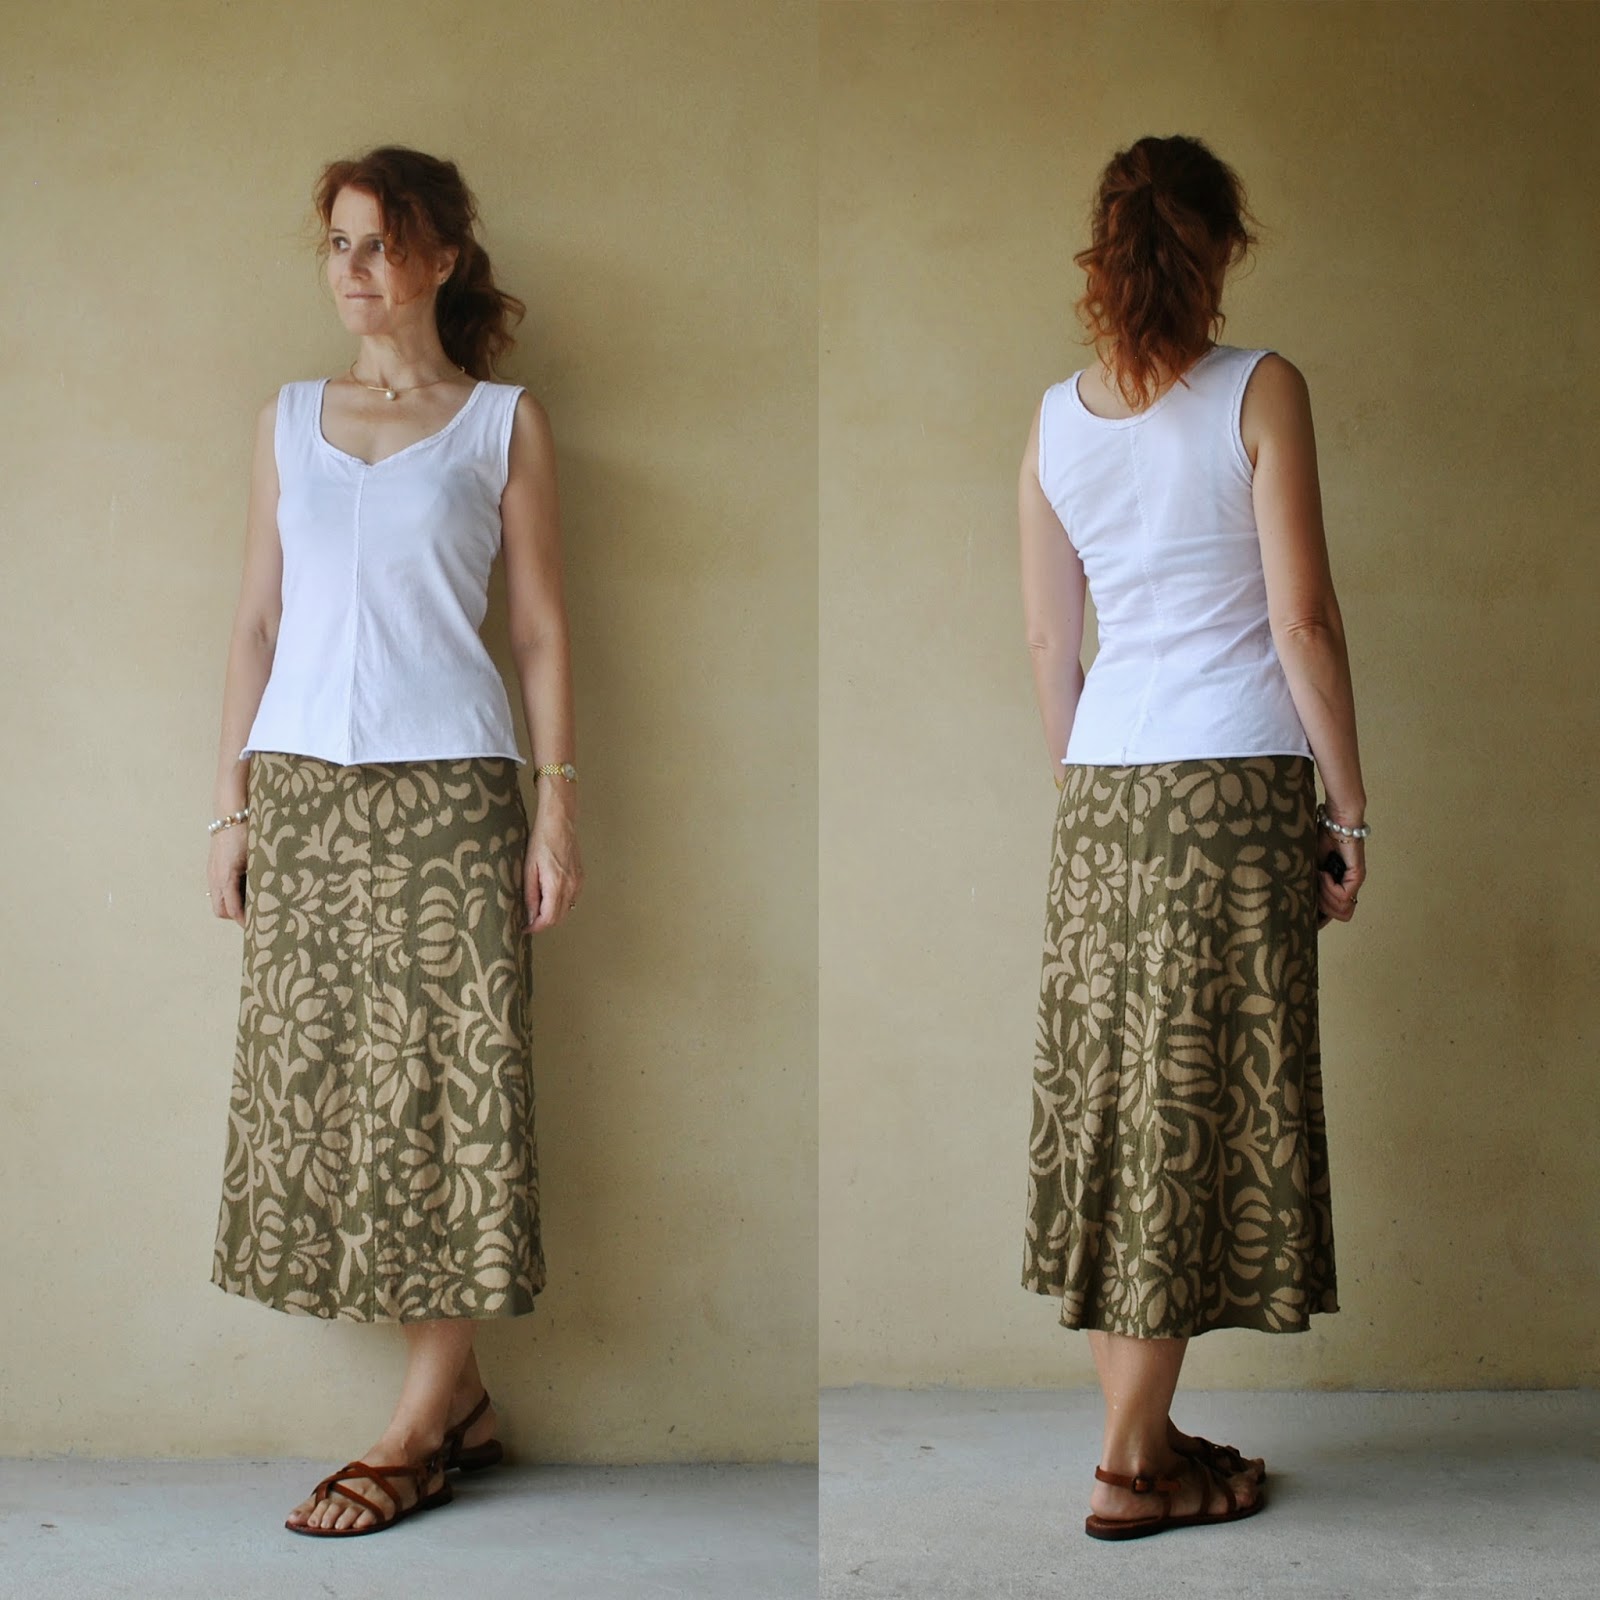
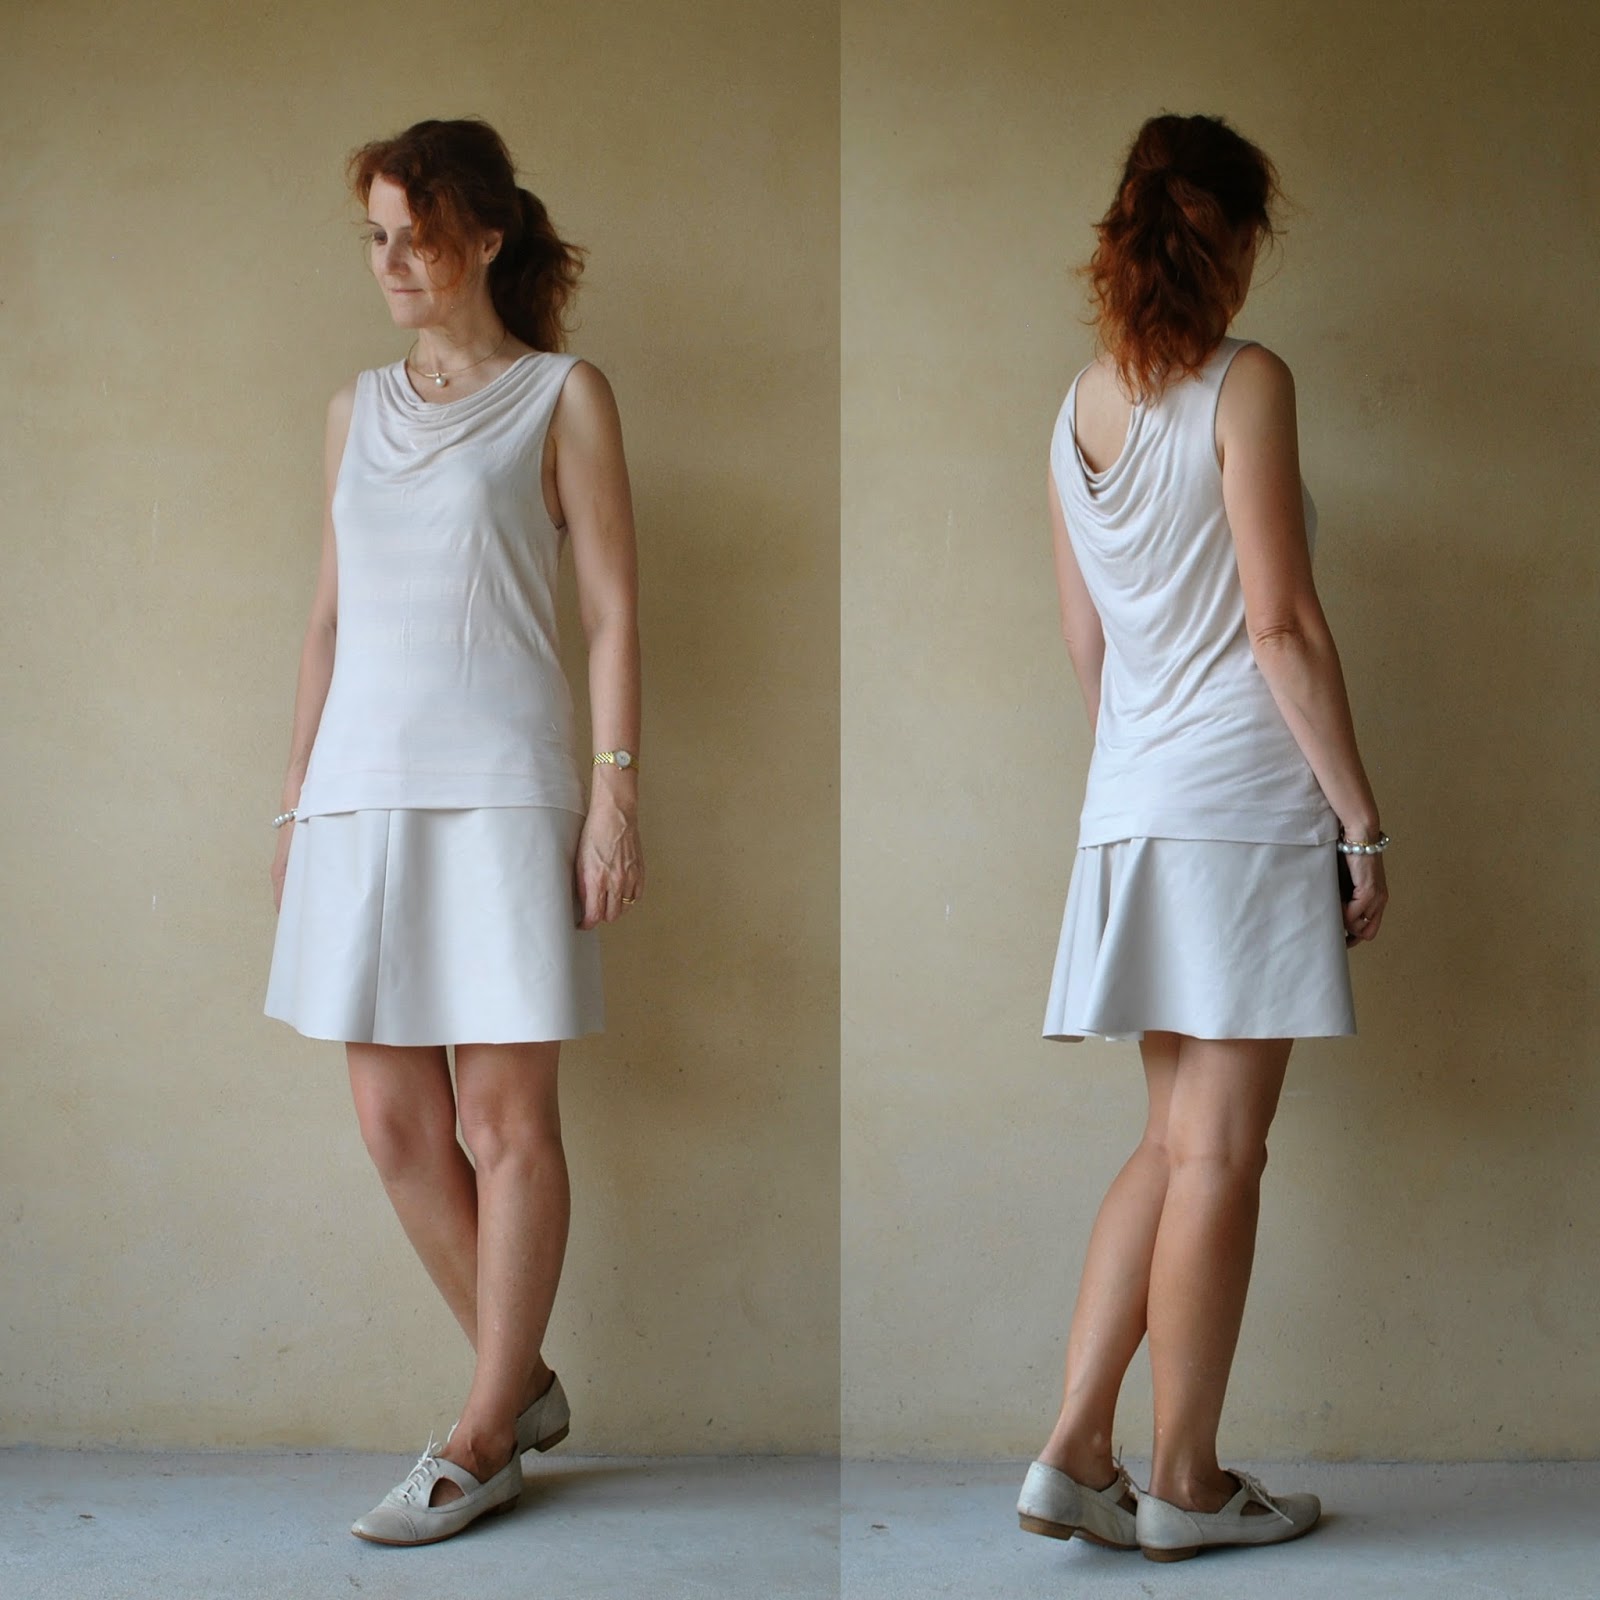
 Cassie was doing a wardrobe reno: an apricot cardi plus some black dye equals a new chocolate cardigan! and asked if I wanted the used black dye-bath for anything before she chucked it out. I barely gave it ten seconds of thought, just grabbed this top. It’s not that I can’t bear to waste a teeny bit of dye that might still have some oomph in it.. oh well, yes, maybe there’s that too. But I really liked the top and wanted to get it into circulation more. Yellow is one of "my colours", but the brightness was just not working with many bottoms… and furthermore since I’ve planned a very subdued autumn/winter wardrobe for myself then the bright yellow top would just continue to not work. And on a psychological note, not that I’m overthinking this or anything! but I think maybe brights are just too daring for my personality? I’m a bit of a mouse and perhaps bright yellow should just be limited to infrequent miniscule doses in my life.