... the sign of the scorpion.
Scorpio was always going to be the difficult one. I literally had zero idea what to do, right up until about last week. Googling scorpion images I did see some rather cool designs for scorpion tattoos that I quite liked. Which led to doodling stylised scorpions and thinking that I could do some printing, and then the practical wardrobe consideration that some of my older lingerie sets are starting to get to the end of their life, underwires starting to work loose, picot edging on some pieces starting to unravel... Boom, decision made.
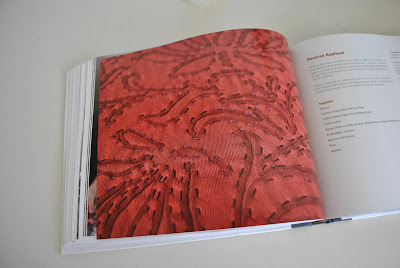
I forgot to take many pictures of my design process ... but these are two of my preliminary sketches for my scorpions. My final design had seven writhing scorpions, which I applied to the fabric first one way and then the other, to lose any obvious repeatability in the print. Ahem, probably a completely unnecessary thing to do considering the tiny pattern pieces in lingerie!
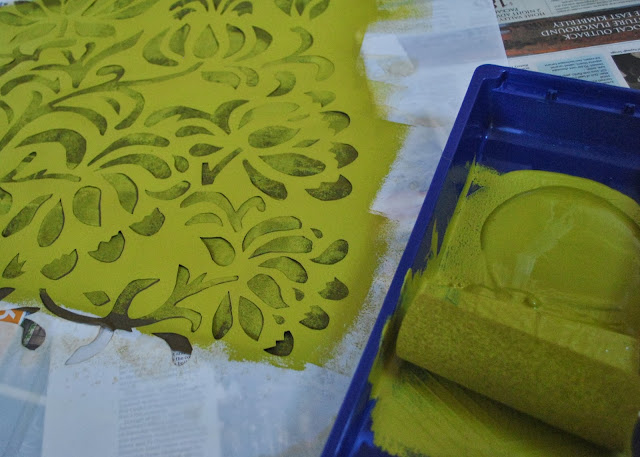
The fabric is a sandy coloured cotton jersey, bought as a huge roll at the Morrison remnant sale last year. The set used but a teensy portion of this! I wanted the scorpions' colour to be sort of variegated, not flat; so I used two colours, an apricot-y pink and a yellow-y mustard, put down on the screen in unmixed blobs. The marbling turned out to be real subtle. You can just see it if you squint a bit ;)
To economise my print, I first laid out my pattern pieces in the most fabric economical layout I could, and roughly marked each piece out by dotting about a centimetre outside the cutting lines of each, using a purple water soluble pen. This was to ensure that I covered each pattern piece with my print fully, as well during the printing process I cut out some pieces and printed them separately to achieve better placement of the print.
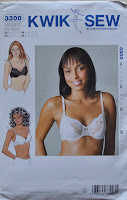
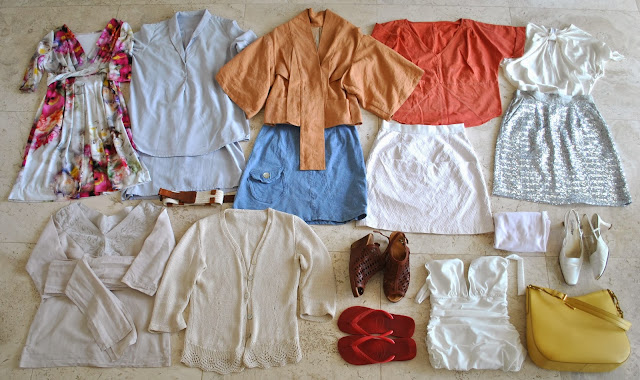
Patterns: the bra is KwikSew 3300, modified to have a foam cup insert
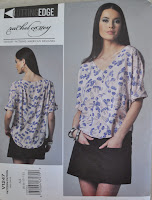
as described here. I left the straps plain and unprinted because I've got a couple of bra-strap-revealing summery tops, so a nice unobtrusive beige strap is just the ticket. I left off the sliders because the only ones I could get were brilliantly snowy white. which would have looked
awful. So I just went with a plain strap, with a length of the lingerie elastic sewn between the back and the strap providing the wearing ease. Both pairs of matching undies are the bikini portion of McCalls 2772, a pattern I've used a lot for undies. I used unprinted self fabric for the panty liners but it blends in so perfectly you can't even see them in the picture above!
![]()